Morning Beautifuls,
Another Christmas filled present ideas for anyone out there who struggles finding Christmas presents for a handful (whether big or small) of people! I love the idea of giving homemade presents at Christmas as I feel it adds to the Christmas spirit, and, honestly, is just something I have grown up doing! So I thought I would share with you some of my favourite DIY projects that are simple, quick and incredible!
Lets get started!
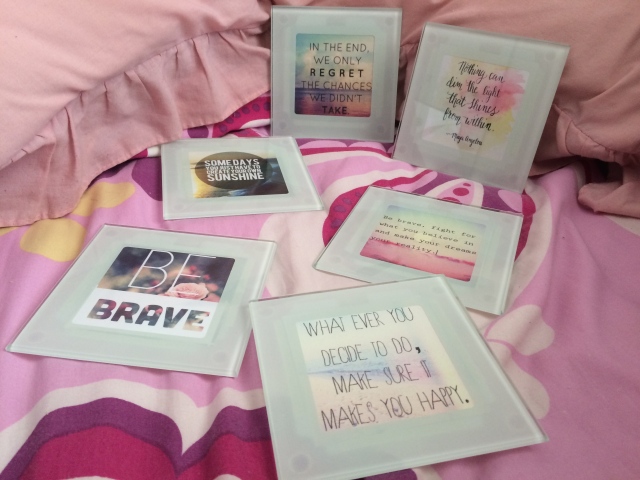
1. Photo Coasters:
I found these glass coasters at Kmart for $6 and immediately thought of the endless possibilities they had as Christmas gifts! You would make festive coasters, using Christmassy pictures, add family or friend photos related to the person you are giving them to, or do what I did and add some cute quote photos into them! The sizing of the photos are given on the little card inside each coaster, making the printing and cropping of each picture super quick and extra easy!
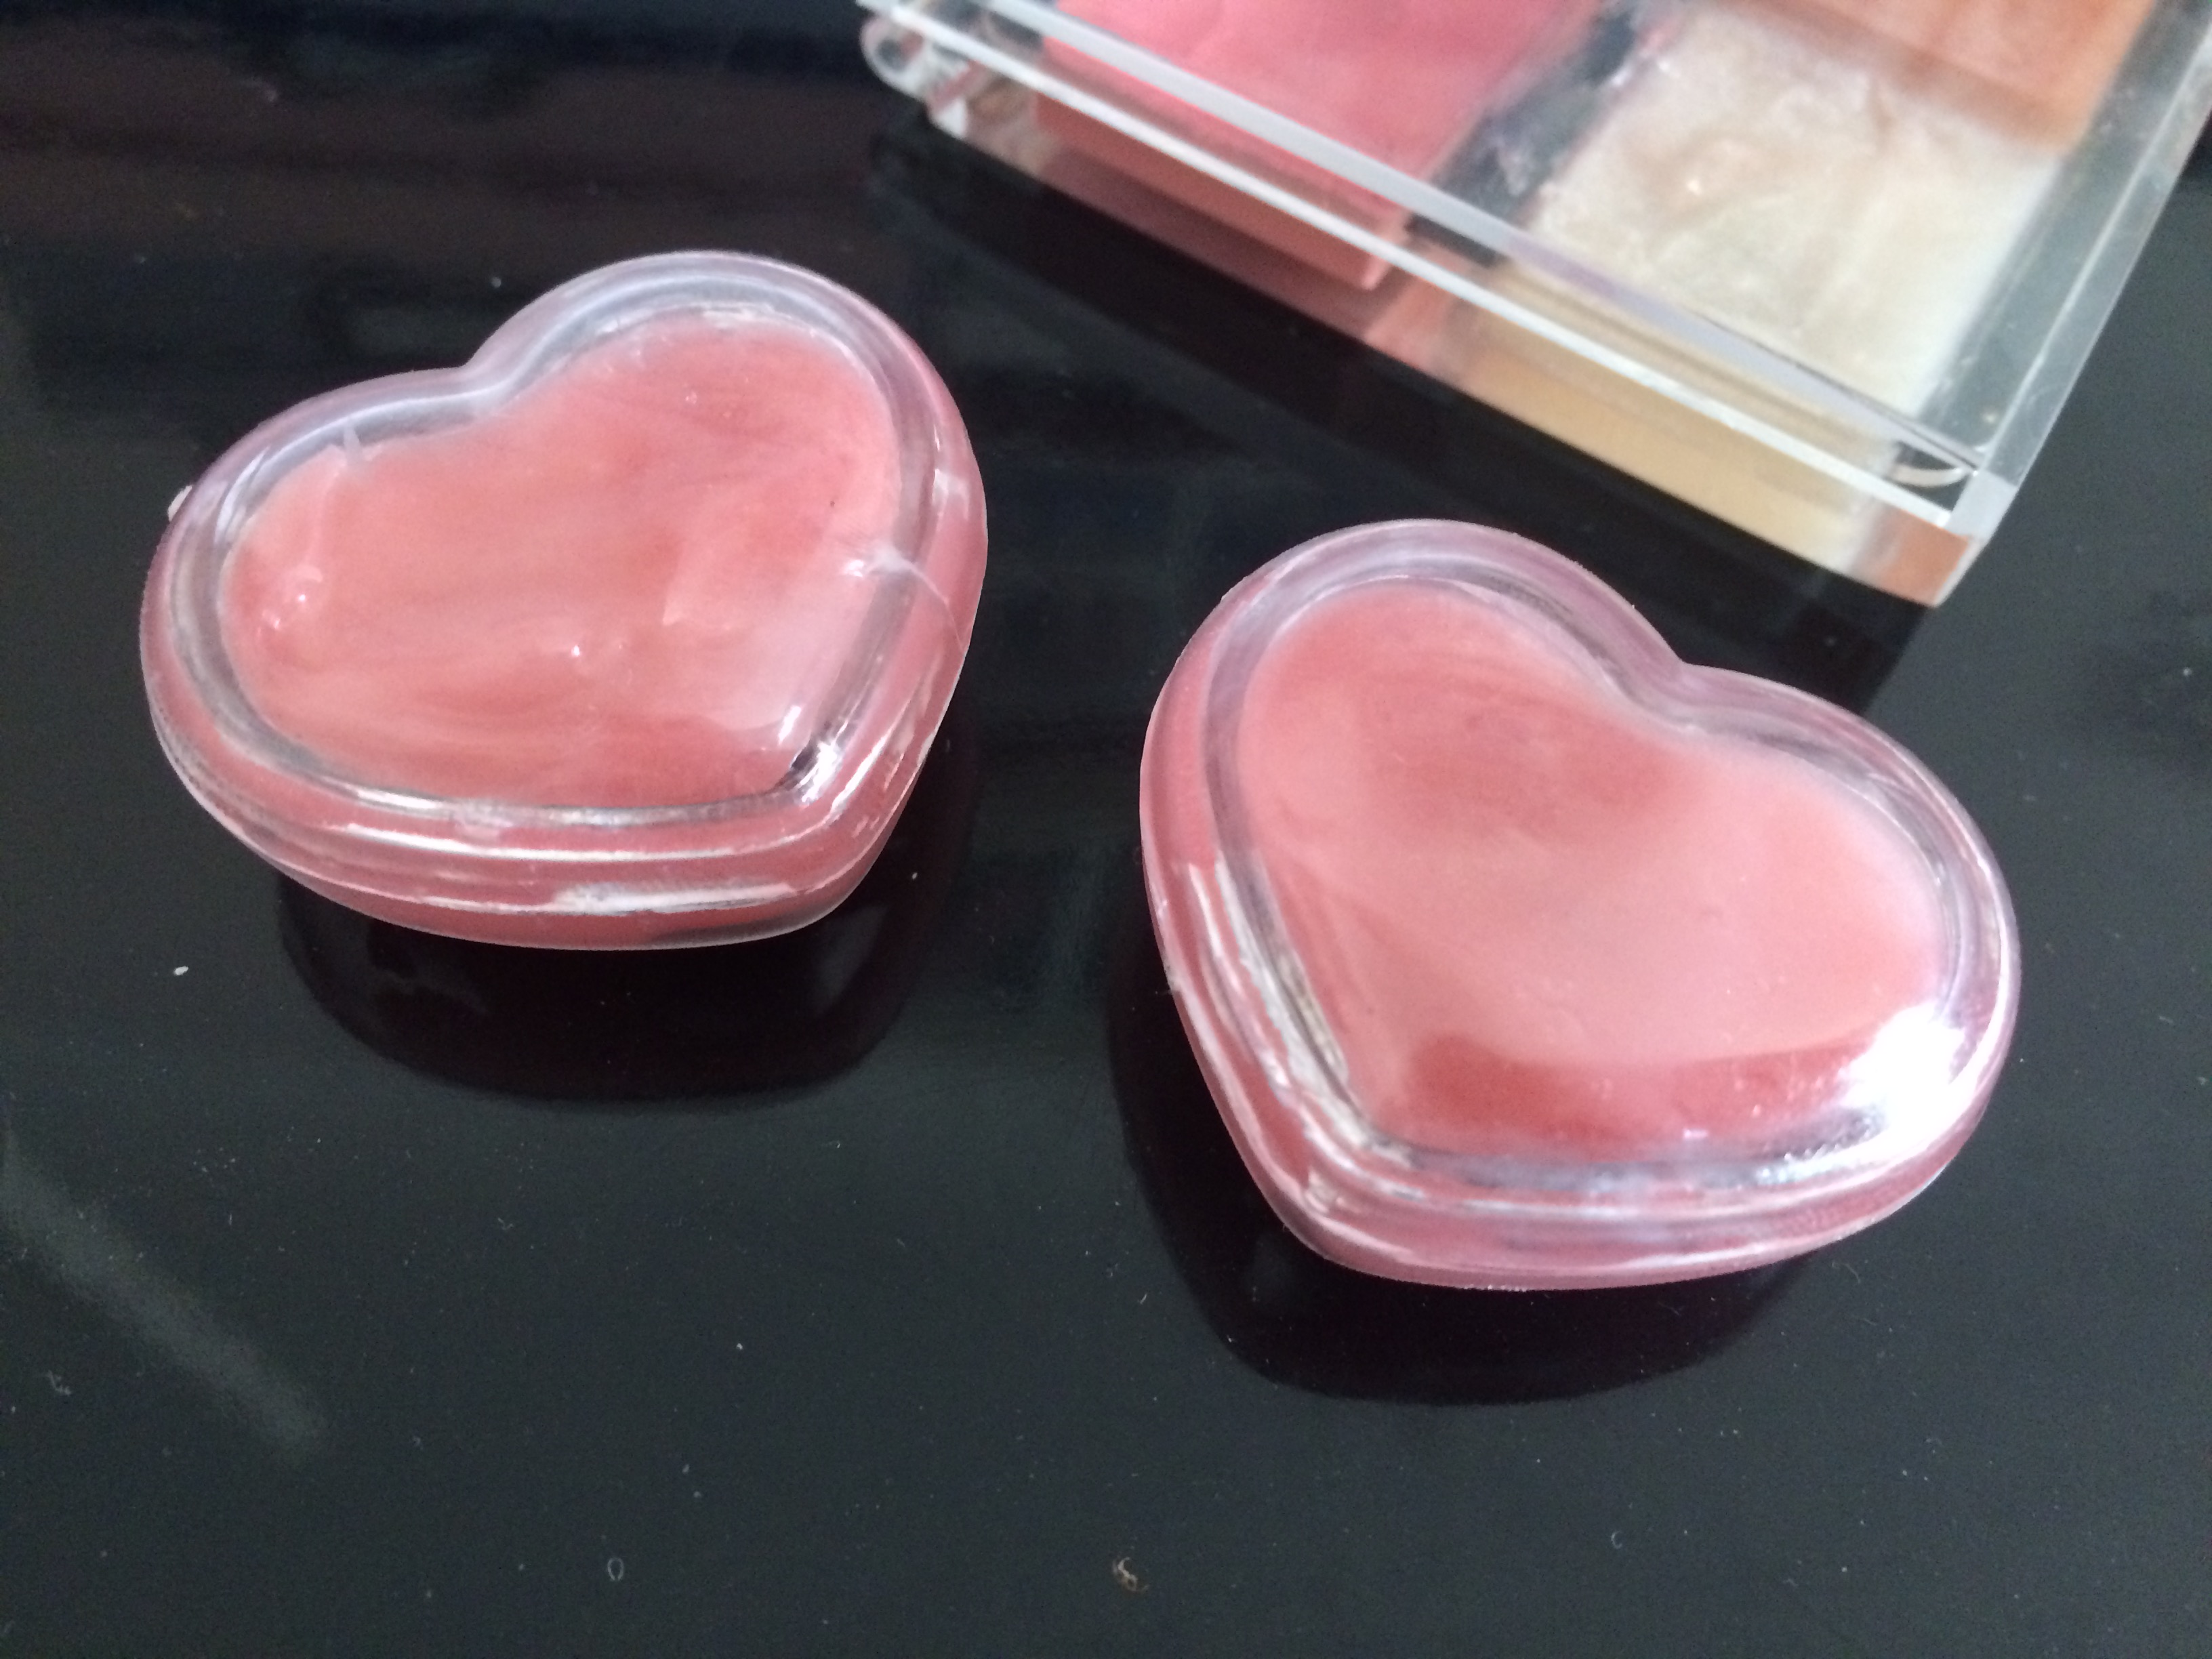
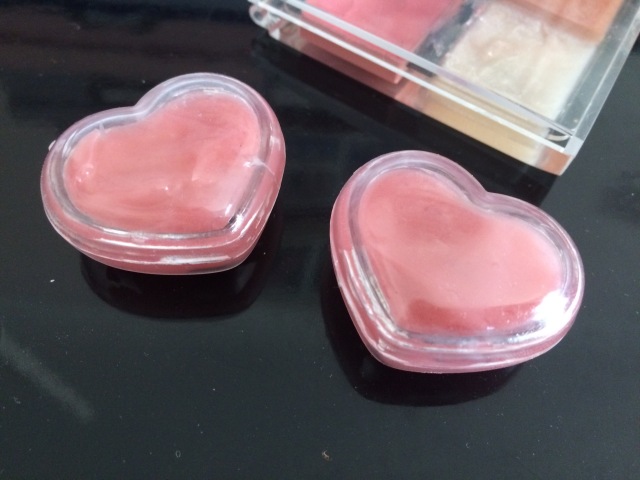
2. Lip Balm:
Again another cute homemade gift idea. I don’t know how I stumbled upon this DIY lipgloss but after I tried it out, I was pleasantly surprised with the final result! All you need is some petroleum jelly, a coloured lipstick or eyeshadow, glitter – if you want!-, and some essence (I used vanilla!). Mix all your ingredients together, adding as much colour to the jelly until you find your perfect colour and then put them into cute pots (that you can buy at the Two Dollar Shop!). Think of all the colours you could make! The best thing is that they work like lip stains, adding a pop of colour to your lips with a nice moisturising feel!
3. Sharpie Decorated Mugs:
I saw this idea online and think it is the perfect christmas project. White mugs decorated with sharpies and then bake in a 180 degree Celcius oven for 30mins! Simple! And with all the coloured sharpies out there, imagine the fun you could have! My only slight warning is to make certain that the mugs are microwave/oven safe… I dare not think about what could happen if they aren’t!
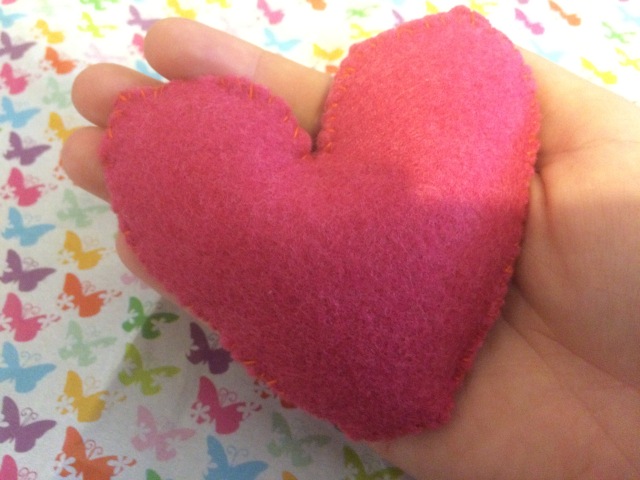
4. Felt Hand Warmers:
I made a blog post on these and do think they would make an amazing stocking filler, especially for those countries that experience a bit of a chilly Christmas! I just think they are a super cute and fun gift idea.
5. Paper Bows:
These make incredible present decorations and could even work as hair clips, especially if you substitute the paper for a nice material! There is a template for bigger bows here but if you google ‘paper bow template’ millions of different sizes pop up that you could use! I made a box full of them last year and love using them for an extra decoration (and for some cute, easy hair clips!). You could even get more creative and make them out of felt, or spritz them up with a bit of glitter!
6. Homemade Nutella:
I haven’t tried this one yet but it looks easy and, I mean, who doesn’t like Nutella! Homemade though? Wow!! Check out the recipe click here!
7. Photo Calendar:
I make this one every year for my mum – so much that it has become a tradition in our family! Honestly, its quite simple – download the new years calendar template in Microsoft Word, adding family birthdays and special days (if desired) and then have fun picking 12 pictures to go with each month! The hardest thing is to print the whole thing, but after a bit of practice – be prepared to get at least one upside down – you will have your own personalised calendar. You can hole punch it and add cute ties to hold it together or go a bit more full out and get it bounded!
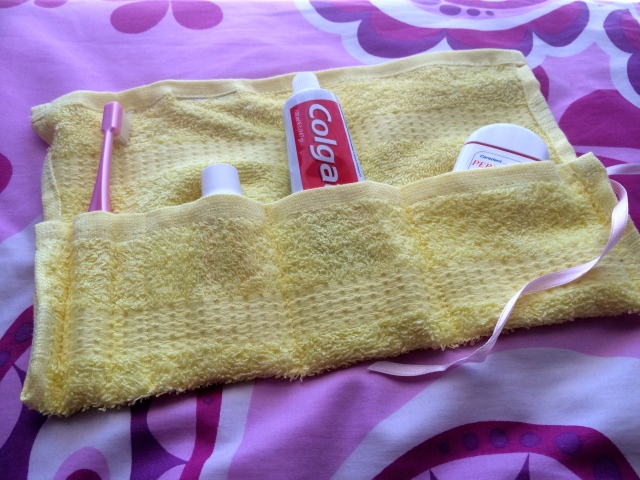
8. Material Roll Holders:
I have no idea what to call these but they are amazing! You can make them for anyone and heaps of different things! My mum has a cotton material one for all her knitting needles, my dad has a ‘jeans’ material one for some of his tools (like screwdrivers and other bits and bobs) and my latest ones I’ve made are face towels converted into travel holders for my toothbrush and other bits and bobs! They are so simple to do and only need to know how to do straight lines on a sewing machine (which is pretty easy if I say so myself!). Just cut the material you chose out to the length you need, fold it over and sew little pockets for your appliances. Add a tie to one side and its complete. Simple!
9. Glitter Snow Globes:
These are an incredible idea and I really wish I had one to show you! But I don’t. So, google them! For these, all you need it a glass container with a very good lid, some cute ornaments that you want in your snow globe, glue, glitter, water and glycerin. Glycerin changing the quickness the glitter (or ‘snow’) will fall, so you can leave it out or use corn syrup. Add depends on what you want! Now there are two different ways of putting these together – either you can glue your ornaments to the lid or the bottom of the container. Just glue the lid on very well or there could be a bit or a disaster!
Snow globes always make me feel Christmassy!!
10. DIY Bath Bombs:
These are the one of the easiest bath/beauty related things to make and can be so much fun! There are so many different recipes for DIY bath bombs on the internet and the amount of fun you can have with them is beyond explainable! Feel free to find your own recipe, but what I work with to make one to two bath bombs (or more depending how big you want them) usually follows this recipe: Mix 2 tablespoons baking soda with 1 tablespoon citric acid, 1 tablespoon cornstarch and 1 tablespoon epsom salts. Mix until not lumpy. While still mixing, add 1/4 teaspoon oil, 3/4 teaspoons essential oil of your own choice (or the scent that you would like your bath bomb to be) and one to two drops of food colouring. There should be a slight fizz from the citric acid but not too much or the bath bomb with be bombed out! The mixture should clump together (but still a little crumbly!) and turn the colour you dyed it. Then pack it into your mould and allow to dry for at least 5 hours before getting out of the mould and another 4 before adding them to the bath (or just leave them over night!). Cute, cute, cute!!
Extra Christmassy Gift Idea: Hot Chocolate Mix Ornaments!
I really wish (again) that I had another picture for this one because when I saw it online I just thought they were the cutest things in the world. I noticed a lot now that you can buy plastic/glass empty ornaments and fill them up so thought that this idea was to die for! It is a really cute, Christmassy way of displaying things on the Christmas tree and having a cute hot chocolate, with the different flavours perfect Christmas treats! Not sure what I am talking about? Take a look for yourself here!! Aren’t they cute?
Okay! I’m getting a bit too carried away with DIY Christmas suggestions! This is way too much fun for me and I think I might have to go run a bath with a new bath bomb to calm myself down!!
Keep smiling and stay Christmassy,
Kay Anne